Transform Outlines into Drafts

Transforming your PowerNotes Outline into a First Draft
Whether you’re still copy/pasting info that you’ve read or have tried to find a better way, more often than not, you’re probably ending up with a long and chaotic document with info and notes spread out all over the place. This means you have to spend time and effort rereading and organizing before you can get started with the writing process.
PowerNotes can help you get things organized as you do your research and easily reorganize that research so that you are in the best position to start that first draft. Just follow these 10 steps:
STEP 1
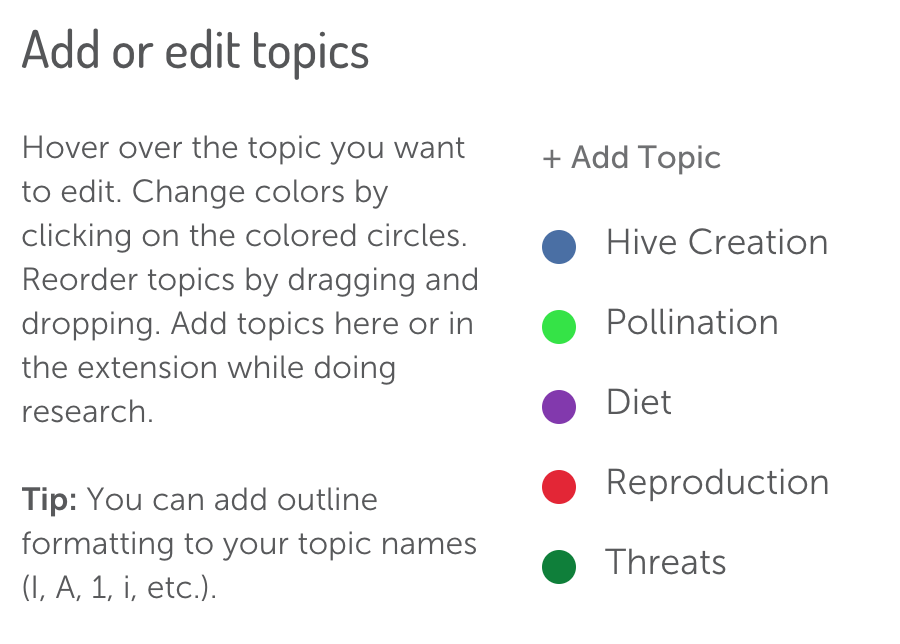
When you start researching, create a few broad Topics in your PowerNotes project.

STEP 2
As you research, more specific themes or ideas will begin to emerge. Now, you can create more distinct Topics.
STEP 3
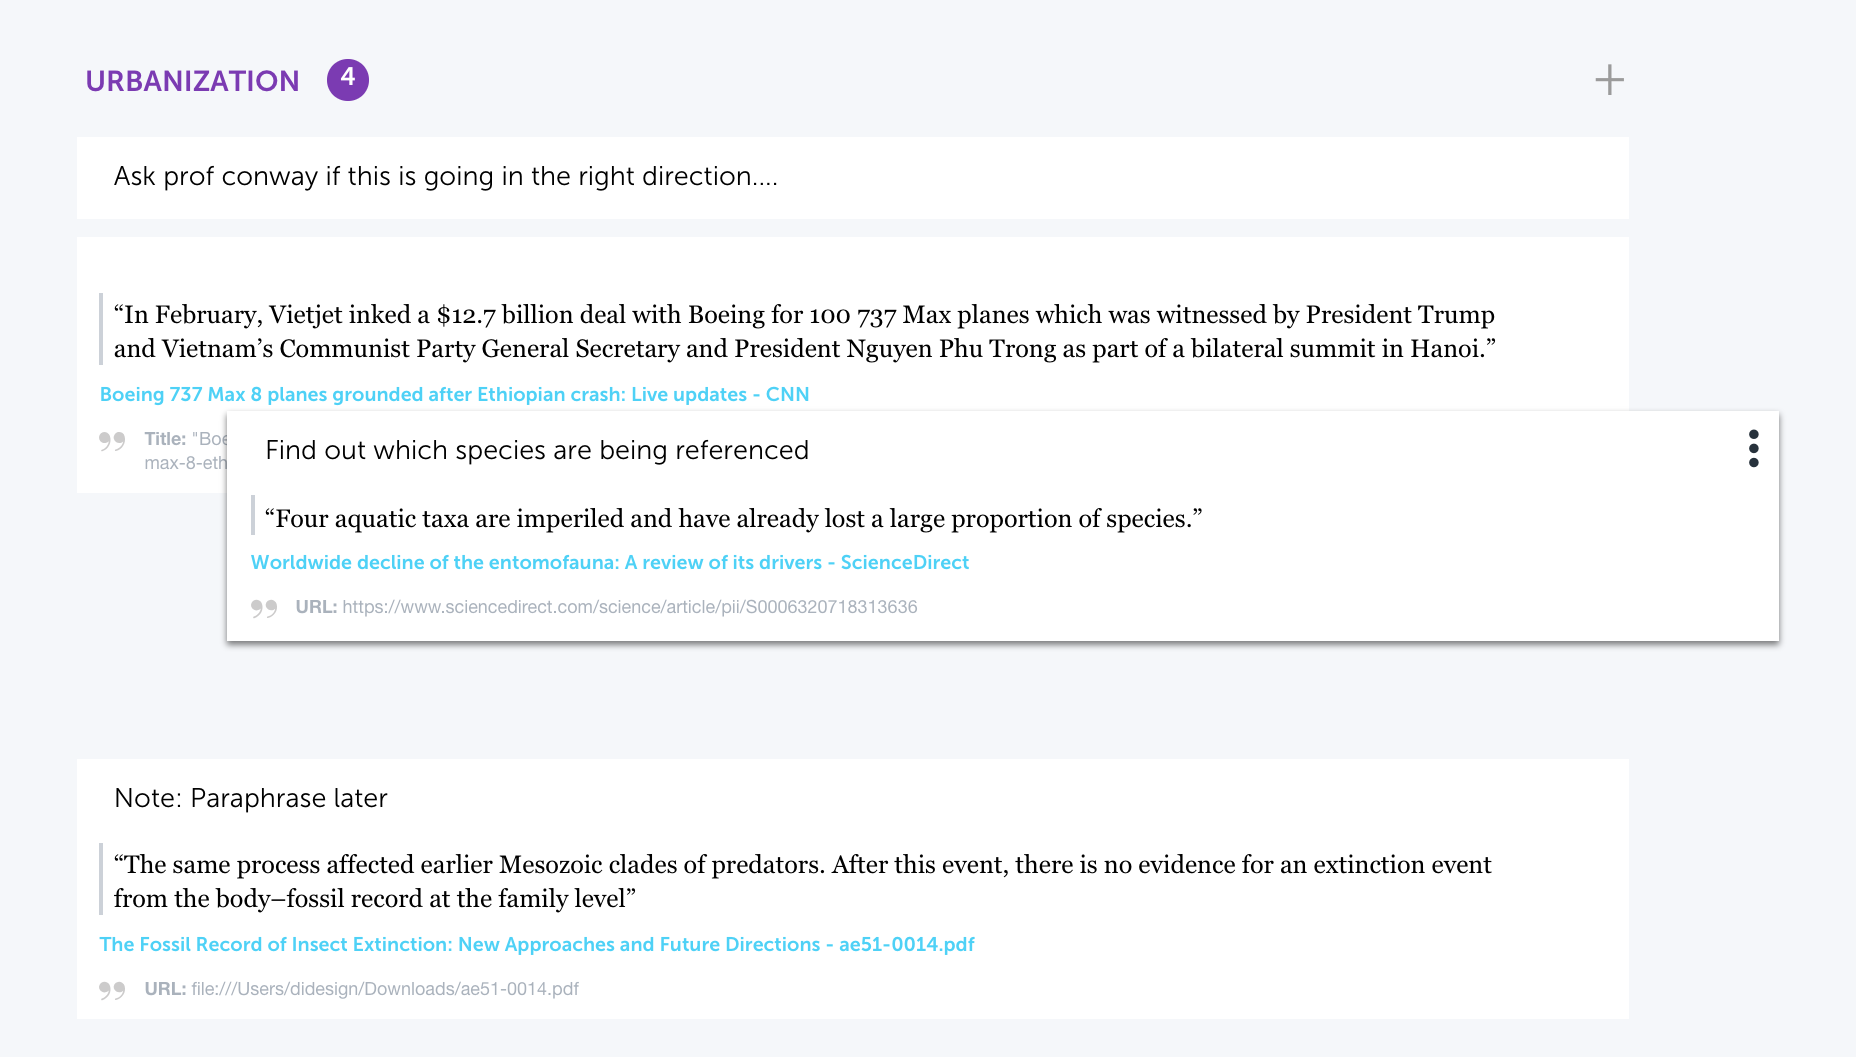
Use the Project Outline to drag and drop or reorganize the relevant info to your more focused Topics.

STEP 4
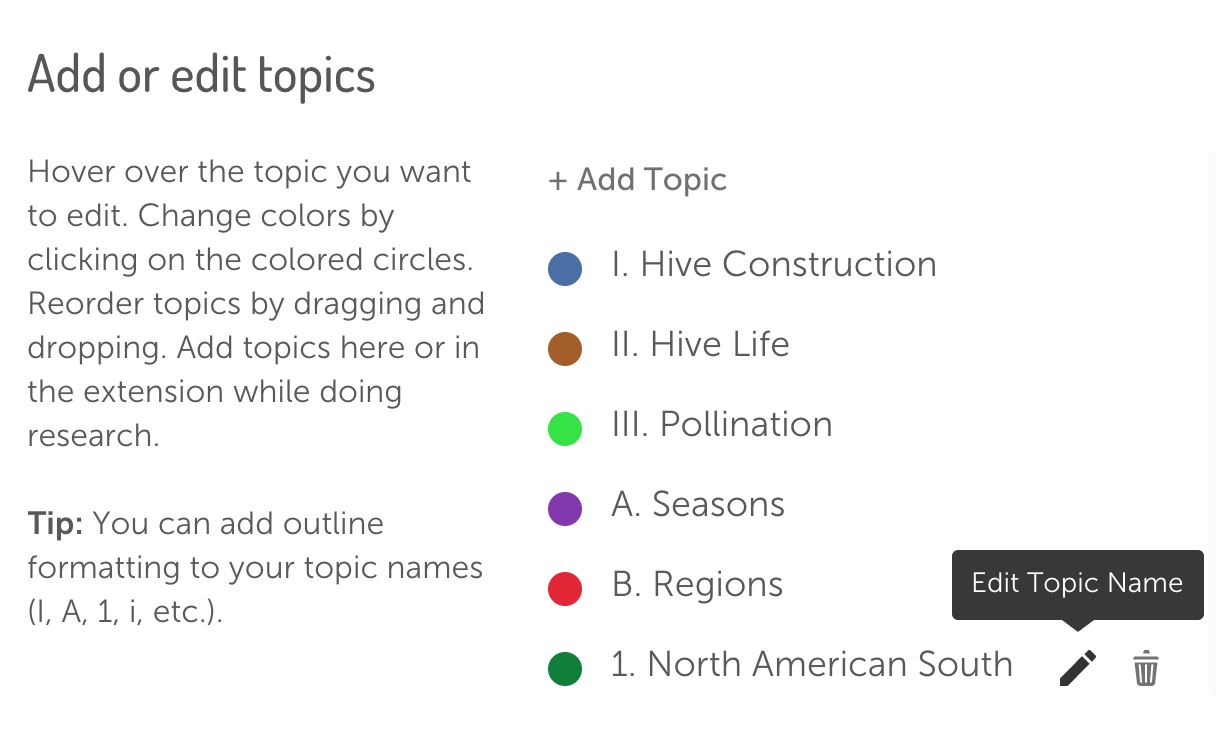
As you conduct more research and add annotations to your highlights, you might find that you need to restructure your paper. Open the Manage Topics screen (Topic link above the Topic filters in the right column) to move entire Topics within your outline. They can also be renamed or deleted here.
Step 5
Once you’ve done enough research, you will start to understand how your paper might be structured to support your thesis. You can add any number of Topics to the bottom of your topic list to reflect the new structure. The topics can be the headings and subheadings of your paper, with hierarchy.

Step 6
After you have added the headings and subheadings as Topics, you can go back to the Project Outline and use the PowerNotes interface to repurpose research items to support specific sections of your paper.
STEP 7
You can still add new topics, rename them, and reorder your research by dragging and dropping to fine tune your organization.
STEP 8
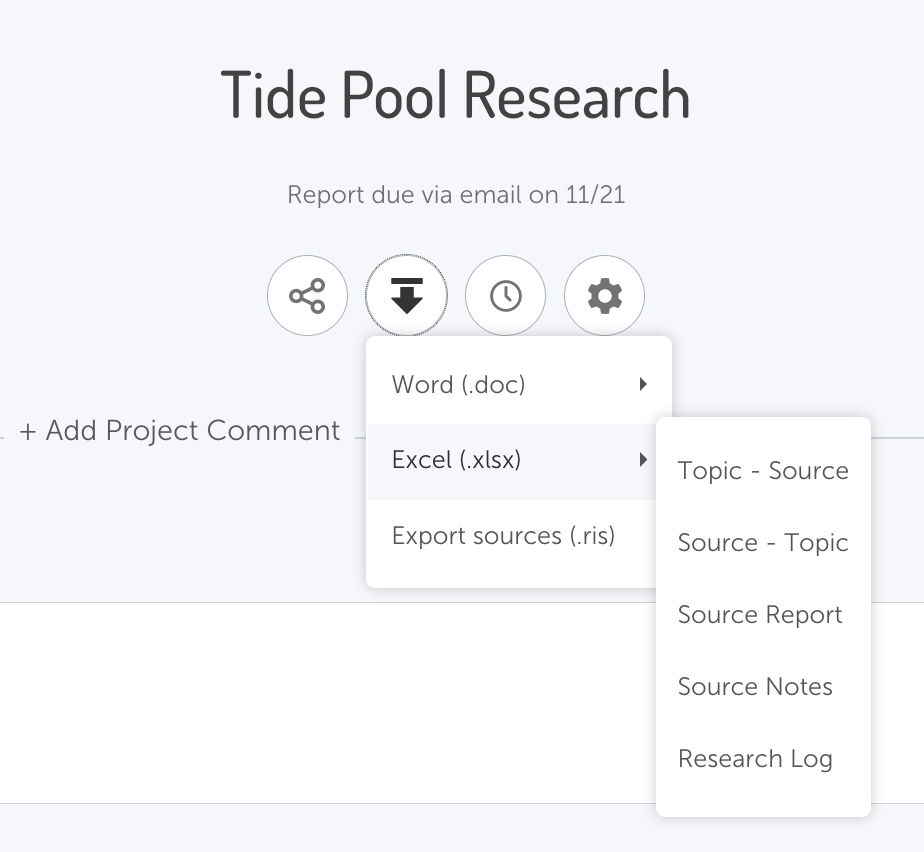
Once you are ready to write, you can download your outline from PowerNotes and open it in Word or Google Docs.

STEP 9
With your research and/or thoughts downloaded to Word or Google Docs, all you have to do is add in the language to connect and explain your thoughts.
STEP 10
With all the time PowerNotes saved you in the gathering and organizational process, you’ll have time to write a solid draft (or two).
