Account Setup & Getting Started

Start Researching with PowerNotes
Researching with PowerNotes is easy, just follow these 5 steps:
Step 1: Install PowerNotes and create your account
Install the PowerNotes Chrome extension (you can also install the Chrome extension on the Microsoft Edge browser) or Firefox extension, then follow the prompts from the extension to create your account. If you’re a student, remember to sign up with your school email address in case your school pays for premium access. When you create an account, we will send a verification email to the address you used to sign up. Just click on the verification link in that email and you will be all set. If you didn't get an email, be sure to check your spam folder.
Step 2: Gathering and saving passages
Navigate to a relevant website or pdf, then:
- Use your cursor to highlight text in the article. Once you highlight text, a menu will pop up with generic topic names (Topic 1 and Topic 2).
- Select a topic to categorize your highlight.
- After you have selected a topic, you’ll see the notes box appear. Type any notes related to the passage you’ve highlighted then hit the enter key or click the checkmark icon in the notes box to save the passage. There is no limit to the notes you can take. Just use ctrl, alt, shift, or command + Enter to add line breaks.
- Your highlight and notes as well as a source link will appear in the sidebar.
Click here for tips on how to highlight faster in PowerNotes.
Read more on adding topics, changing topic names, and reordering topics.
Step 3: The sidebar and your first project
First, take a look at the PowerNotes sidebar:
- At the top is your project name. Initially your project will be labeled “New Project,” which you can change later.
- Below that, you’ll see a filter and a link to your project outline.
- The rest of the sidebar is where your highlights, notes, and source links will populate when you start researching.
Learn how to get the sidebar out of your way.
Step 4: Your project outline
You can access your project outline by clicking on the “Project Outline” link in the upper right of the sidebar. In your project outline you can reorganize your work, change the title and description of your project, and download your work to Word or a .RIS file.
See how to use the project outline to get a better start on your first draft.
Here are all the features of the project outline.
Step 5: Enabling and disabling the extension
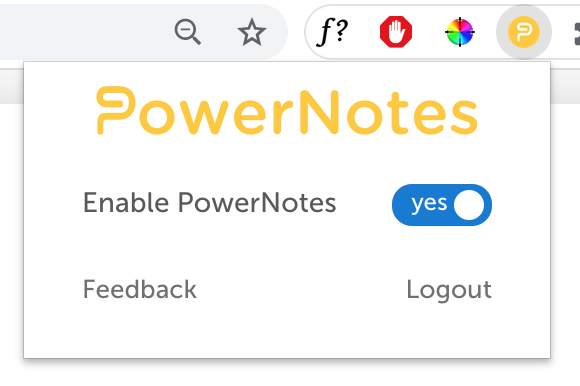
To enable (or disable) the extension, click on the “P” icon in the extension tray in the upper right navigation section of your browser window and change the switch to ”Yes” (or “No”). This is how you turn PowerNotes on when you are researching and off when you’re browsing or doing other activities.

SENDING US FEEDBACK
If anything doesn’t work, or you want something to work better, click on the PowerNotes icon in the extension tray then on the “Feedback” link or use the “Feedback” button on the right side of the PowerNotes sidebar (this button will auto-populate the URL you are on too). We will try to respond by the next business day.
For more info on how to use all of PowerNotes’ features, check out this helpful blog post.
